BLUEKIN’S WEED MAT stop the weeds, or else. But, how well we stop the weeds definitely depends on how well you install the weed mat. “But I just lay the weedmat on the ground right”, we hear you say. No, no you don’t. Properly laying weedmat is the difference between success and mild success. Mild success is great, but it certainly isn’t going to get the neighbours talking about how weed free your entire garden is. Let’s get the neighbours talking. Keep reading below for your guide to correctly installing weed mat.
Laying down Weed Mat is the easiest and often the most effective method for fighting weeds. Weed Mat prevents weed seeds from germinating in the soil or from landing and taking root from above the soil. And because Weed Mat is “breathable,” it lets water, air, and some nutrients to flow down to the soil to feed desirable plants.
Weed Mat works fine on its own, but it’s usually best to cover it with a decorative mulch, rock, or other ground cover. The fabric separates the cover material from the soil, keeping stone and gravel clean and slowing the inevitable breakdown of organic mulch. Black plastic (an inferior type of weed barrier) performs a similar function, but plastic is prone to tearing, and it forms an impervious barrier that prevents water and air from reaching desirable plants.
Installing Weed Mat isn’t much harder than spreading out a bed sheet, but it’s important to prepare the ground properly to ensure a flat surface and prevent damage to the fabric. It’s also important to overlap and secure the edges of the fabric to prevent weeds and cover material from getting through the seams. Weed Mat is a weed barrier, but not all weed barriers are landscape fabric. Cheap, thin plastic barriers are far inferior to quality fabric and can tear very easily. It never pays to use the cheap stuff because you’ll most likely need to replace it at some stage. By contrast, our premium quality Weed Mat is long-lasting and is resistant to sun damage and tears.
Another benefit of Weed Mat is that it’s reusable. If you decide to change an area that is covered with Weed Mat and mulch, simply remove the mulch, unpin the fabric, shake off the soil and other material, and roll up the fabric to keep it for future use. While it may be a little dirty, reused Weed Mat works just as well as new material.
Weed Mat fabric is made of spun synthetic-fiber material that blocks sunlight but permits the passage of some water and air. The material is tough, but it can be damaged by sharp rocks, tools, and roots. For this reason, it’s a good idea to rake and smooth the ground before laying Weed Mat. Weed Mat is UV-protected, but will last longer if it is are not directly exposed to sunlight. A layer of mulch or other ground material provides this useful coverage.
In order to begin, you will need a few tools to make sure the job is as easy as it can be. Grab a shovel, hand-shovel or garden hoe, a steel rake, a utility knife and a hammer. As well as your weebmat and weedmat pins, make sure you have your plants ready to go as well as any mulch or ground cover that you plan to lay down over the weedmat (recommended). Now you are ready for weedmat installation.
Step 1 Remove All Vegetation. Dig out all weeds, grass, and other vegetation, using a garden hoe, shovel, or other tool. Dig deep enough to get the roots; if you miss the roots, some plants can spread even when covered with Weed Mat. Use a hoe with a swinging motion, bringing the blade down toward the ground and slightly back toward your body, striking the ground at approximately a 45-degree angle. Ideally, you’ll penetrate the soil deeply enough to get under the roots and lift out the whole weed, roots and all. Alternatively, you can kill the plants with a non-selective, or broad-spectrum, herbicide (such as Roundup). Apply the herbicide as directed by the manufacturer, and allow time for the plants to die completely. Herbicide is often recommended for weeds that spread with rhizomes or stolons, which can be difficult to eradicate with digging alone.
Step 2 Clear and Level the Soil. Rake the area thoroughly with a steel garden rake, also called a bow rake. Pull up any uprooted weeds and rake out all twigs, stones, and other sharp objects that could damage the Weed Mat. Discard the loosened rocks and debris as you rake until the soil surface is mostly smooth and flat.
Step 3 Layout and Position Weed Mat. Roll out the Weed Mat so it is parallel to the longest dimension of the area your wish to cover. Cut the material off of the roll, as needed, with a sharp utility knife (it helps to replace the blade frequently so it is always sharp). If desired, you can run the pieces long and trim them later; it’s better to have too much Weed Mat than too little. If you need more than one row of Weed Mat, overlap the pieces by at least 15cm. Other weed barrier manufacturers may say 7cm is enough, but 15cm is better. Be sure to install Weed Mat with the striped side facing up. Temporarily weight down the Weed Mat, if necessary, with stones or other heavy, available objects.
Step 4 Secure Weed Mat with Pegs or Pins. Confirm that the Weed Mat is positioned properly, then secure it with galvanised pegs or pins (sold separately), using a hammer or small hand maul. Drive a peg every 30-50cm, or so, along the edges and seams and as needed over the interior areas (keep in mind that your ground cover, if you are using it, will help hold down the Weed Mat). Trim the Weed Mat along the edges, if needed.
Step 5 Plant Through Weed Mat (optional). If you’re adding plants in the area, make an X-shaped incision in the Weed Mat for each plant, using scissors or a utility knife. Cut from the outside toward the centre, and make the incisions just big enough for digging a hole for the root ball of the plant. The fewer and smaller the holes you put in the Weed Mat the better. Pull the flaps aside to dig the hole, and dump the soil into a wheelbarrow or tub, rather than onto the surrounding fabric. Install the plant, back-fill around the root ball with soil, and lightly tamp the soil to eliminate air pockets. Lay the four flaps of fabric snugly against the base of the plant to re-cover the soil.
Step 6 Add Mulch (recommended). Cover the Weed Mat with mulch or other ground cover, if desired. If using natural mulch, such as wood chips or pine needles, add no more than about 2 inches of cover. If using stone, you may need less than 2 inches for full coverage, depending on the stone and the planned use of the area. Spread and smooth the ground cover with a rake, being careful not to damage the Weed Mat.
Related Product
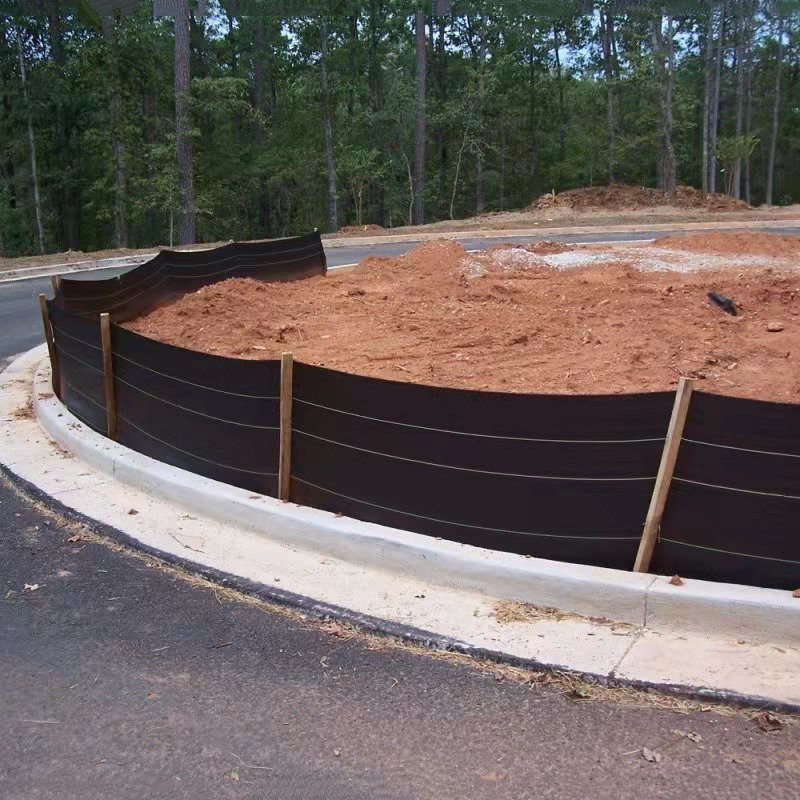
Silt Fence
Product Weed Mat / Ground cover/Slit fence Weight 70g/m2-300g/m2 Width 0.4m-6m. Lengths 50m,100m,200m or as your request. Color Black,Green,White ,Yellow or As your request […]
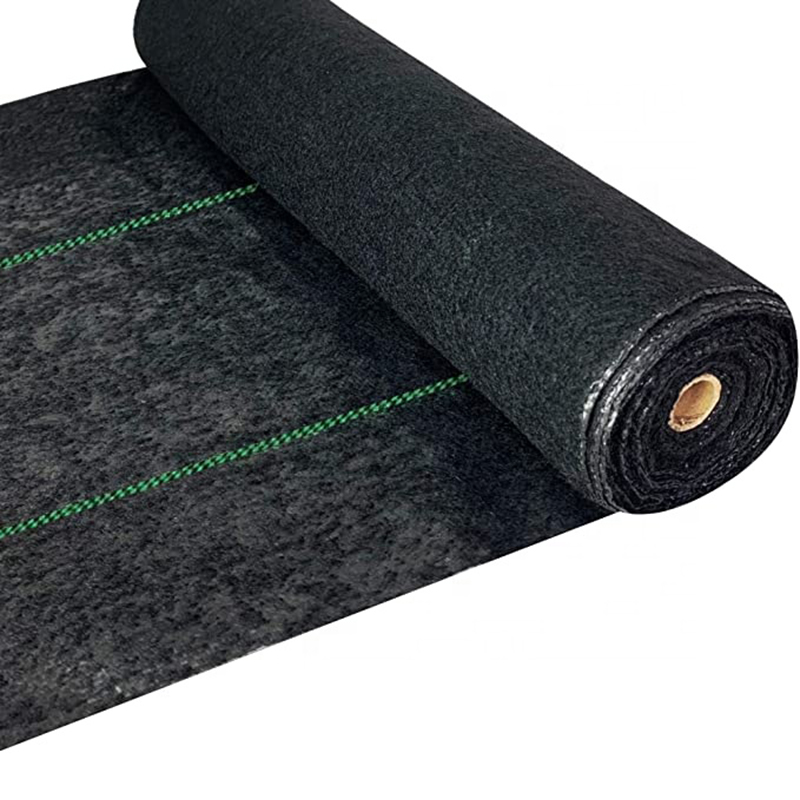
Heavy Duty Landscape Fabric
High Strength &Durability: 5.8oz heavy duty landscape weed barrier fabric, made of tightly woven polypropylene fabric needle which punched with UV-stabilized. 98.7% opaque to l […]
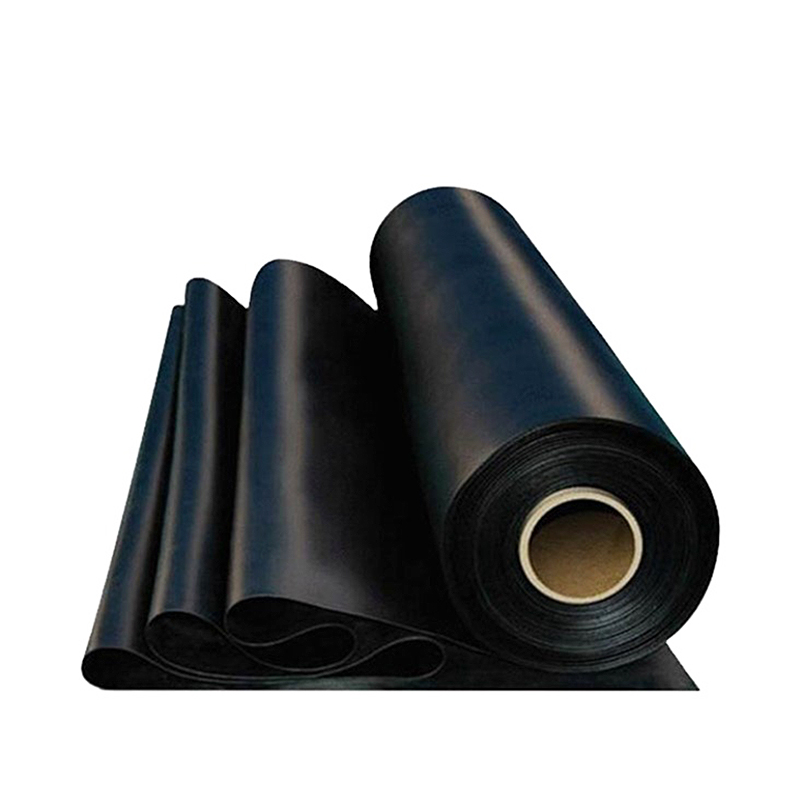
Hdpe Geomembrane
Product Features: They have strong ability for waterproof,anti seepage and isolation, aging resistance, good welding performance, convenient construction, root resistance and other […]
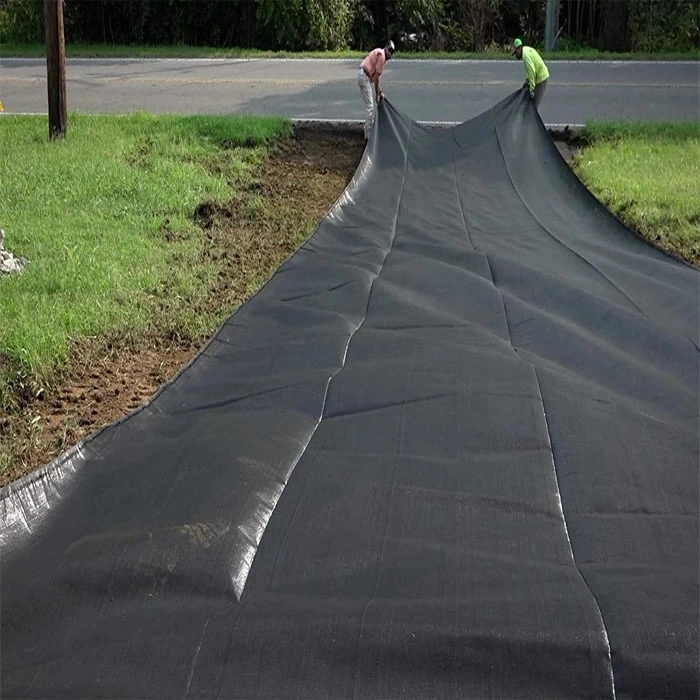
Bluekin Weedmat: Your Secret Weapon for a Low-Maintenance and Beautiful Garden
Are you tired of spending countless hours weeding and maintaining your garden? Look no further than Bluekin Weedmat, the ultimate solution for a low-maintenance and beautiful garde […]
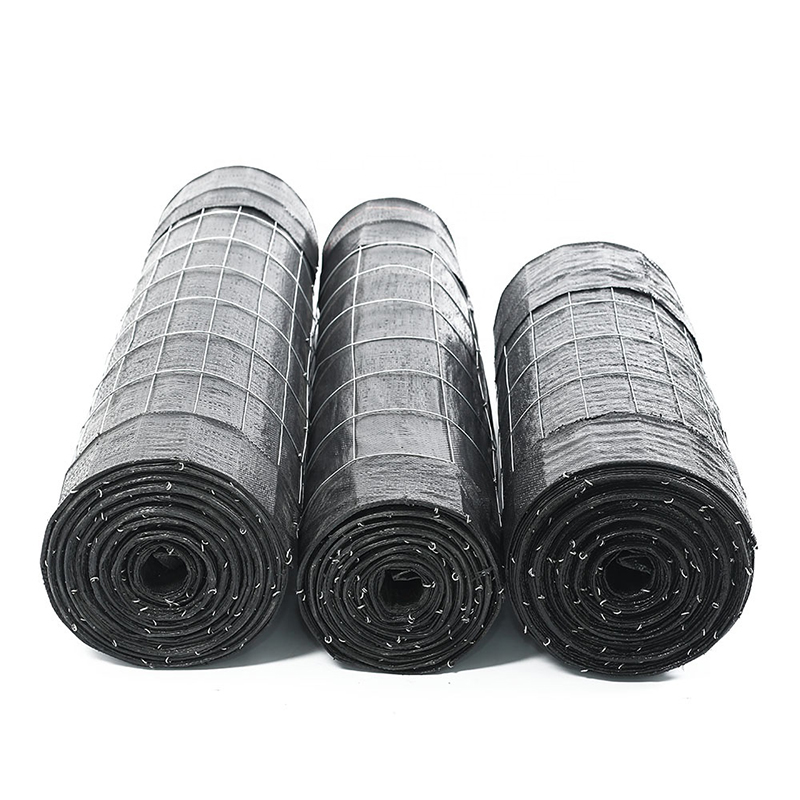
Wire Backed Silt Fence
The Wire Back Silt Fence is a strong erosion control fence designed for areas with demanding silt and erosion control requirements. Offering more strength and stability than a stan […]
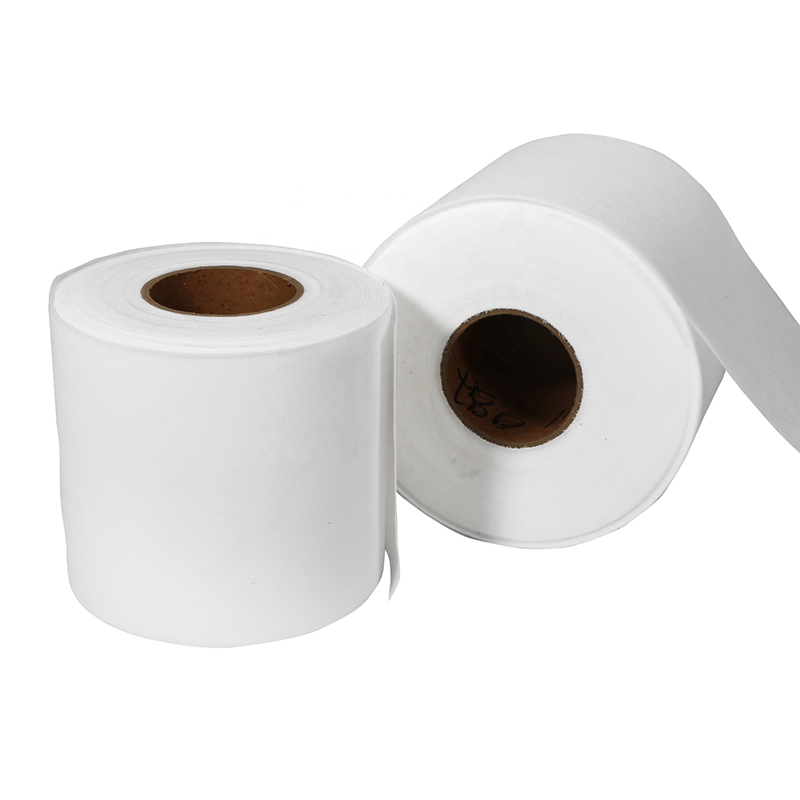
Non-Woven Geotextile
Geotextiles are permeable geosynthetic materials made by needling or weaving synthetic fibers. Geotextile is one of the new geosynthetic materials, and the finished product is clot […]
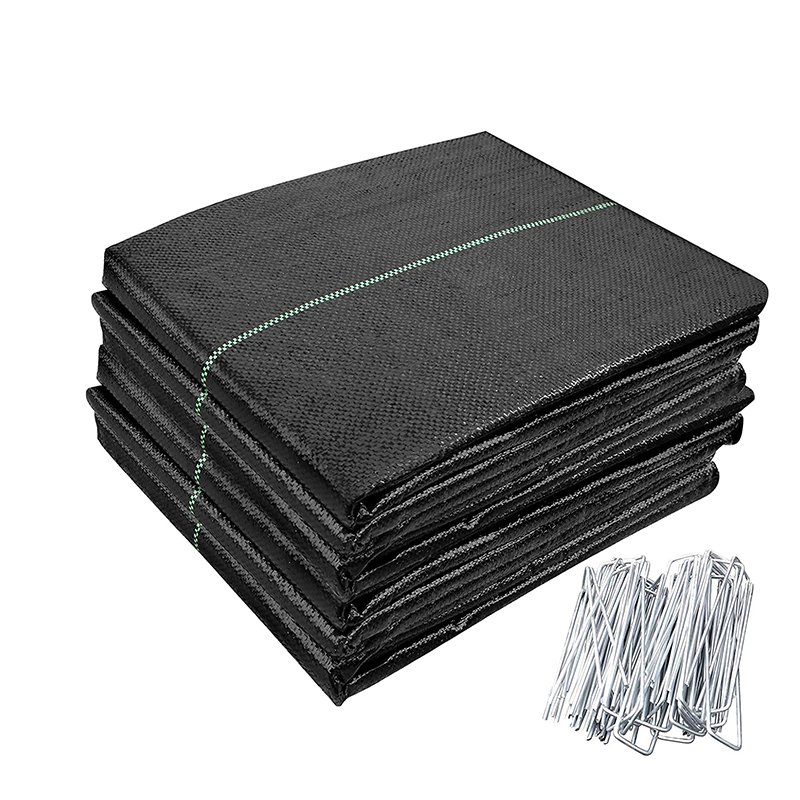
Woven Geotextile/Weed Mat
PP Woven Geotextiles are a series geotextiles made of high-performance polypropylene woven geotextile fabrics combining strength, durability and robust design. All these PP woven g […]
Post time: 2022-11-11
