Stopping pesky weeds from sprouting in your garden or lawn is as simple as laying down a weed mat. These protective materials come in a variety of styles, all designed for the same purpose: blocking out the growth of unwanted plants.
To ensure the success of weeding via weed mats, here is a helpful guide on how to approach this task. Take note, the materials used are solely for control and their correct implementation is key:
Opting for the perfect weed mat for your garden is of upmost importance; if the one you select isn’t tailored to your specific requirements, you could be heading for disappointment. When making your decision, ensure to consider the composition of the product; breathable material will ensure healthy growth for your precious flowers as it allows air and humidity to permeate and feed them.
Prior to laying the weed mat, it is essential to prepare the space ensuring all existing weeds have been cleared out and the soil has been loosened. This will provide a sound foundation and ensure the weed mat sticks securely to the ground, discouraging weed growth underneath it.
After your prepping is complete, it’s time to lay the weed mat. Run your hands over the fabric to eradicate any creases or folds, creating a smooth layer.
Once your weed mat is spread out, you must make sure it stays put by fastening it securely. Staples, nails, or weights can all be applied to hold the mat in place.
Create entrances for your vegetation. If you are including a weed mat into your outdoor area, you should fashion gates that are ample enough to accommodate your foliage. Provide it with sufficient sizings so that your plants can comfortably pass.
Weed mats can be an excellent resource for keeping nuisances at bay, but in order for them to work as intended, they need to be installed properly. To achieve the best possible results, use these guidelines and reap the rewards of a weed-free landscape.
Related Product
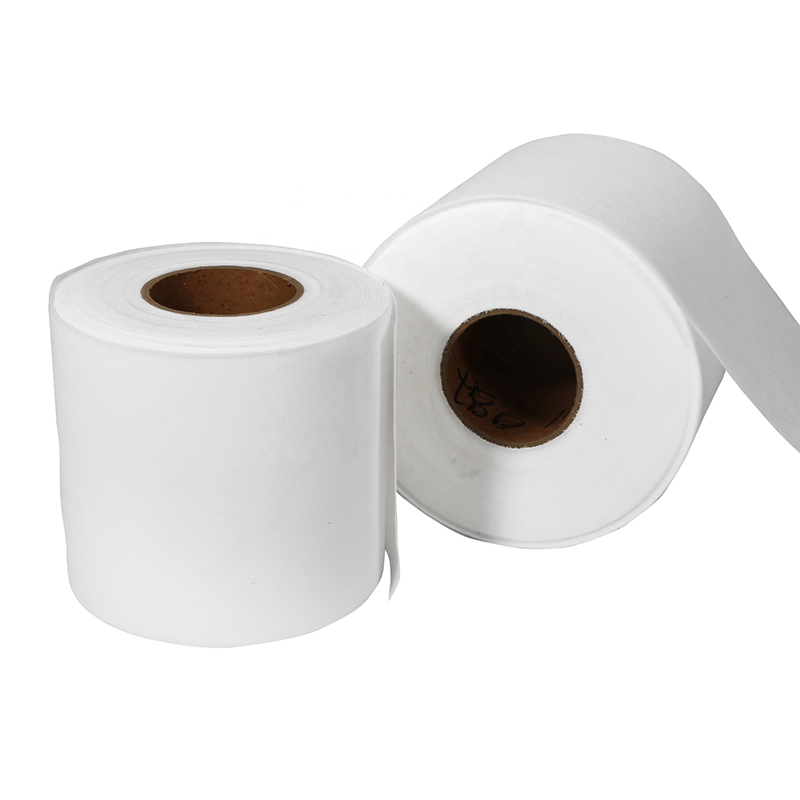
Non-Woven Geotextile
Geotextiles are permeable geosynthetic materials made by needling or weaving synthetic fibers. Geotextile is one of the new geosynthetic materials, and the finished product is clot […]
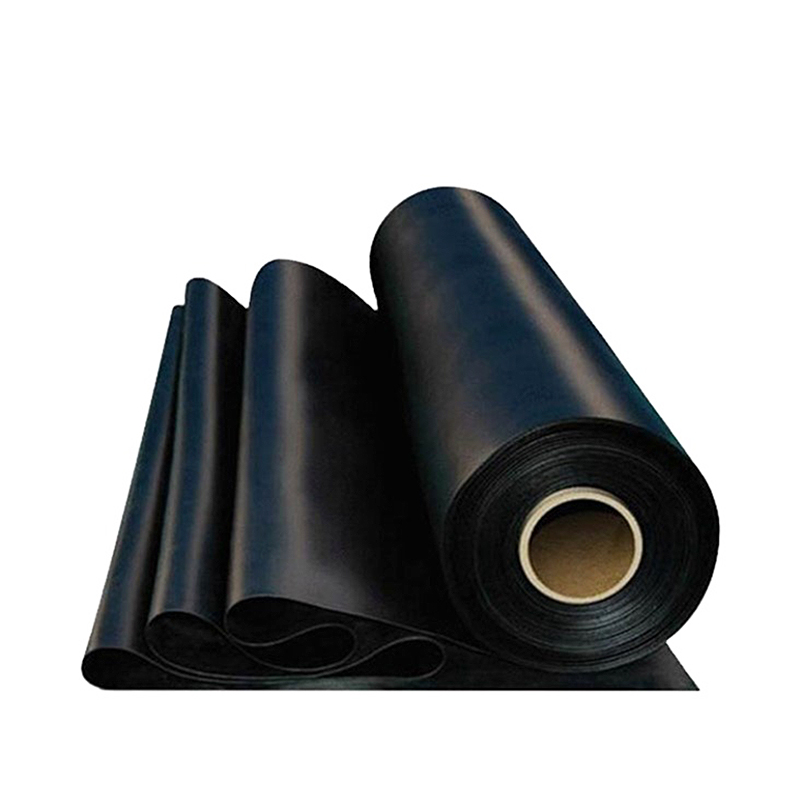
Hdpe Geomembrane
Product Features: They have strong ability for waterproof,anti seepage and isolation, aging resistance, good welding performance, convenient construction, root resistance and other […]
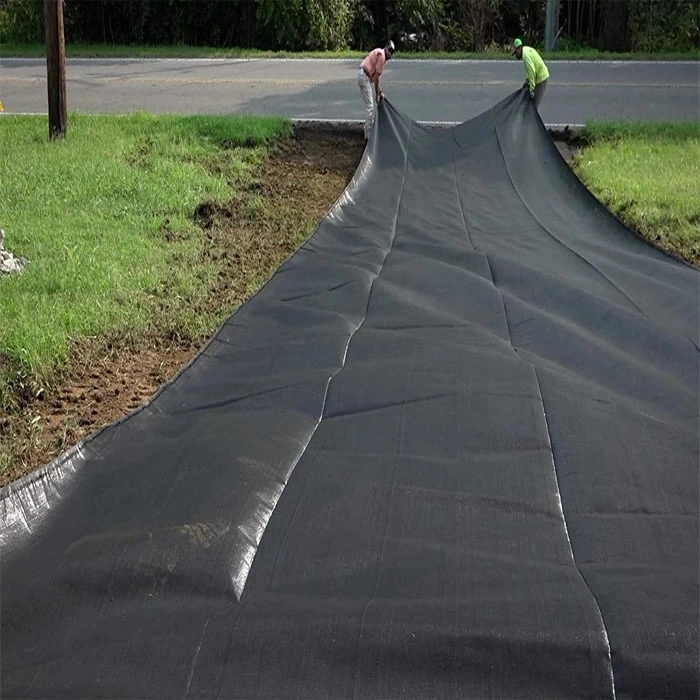
Bluekin Weedmat: Your Secret Weapon for a Low-Maintenance and Beautiful Garden
Are you tired of spending countless hours weeding and maintaining your garden? Look no further than Bluekin Weedmat, the ultimate solution for a low-maintenance and beautiful garde […]
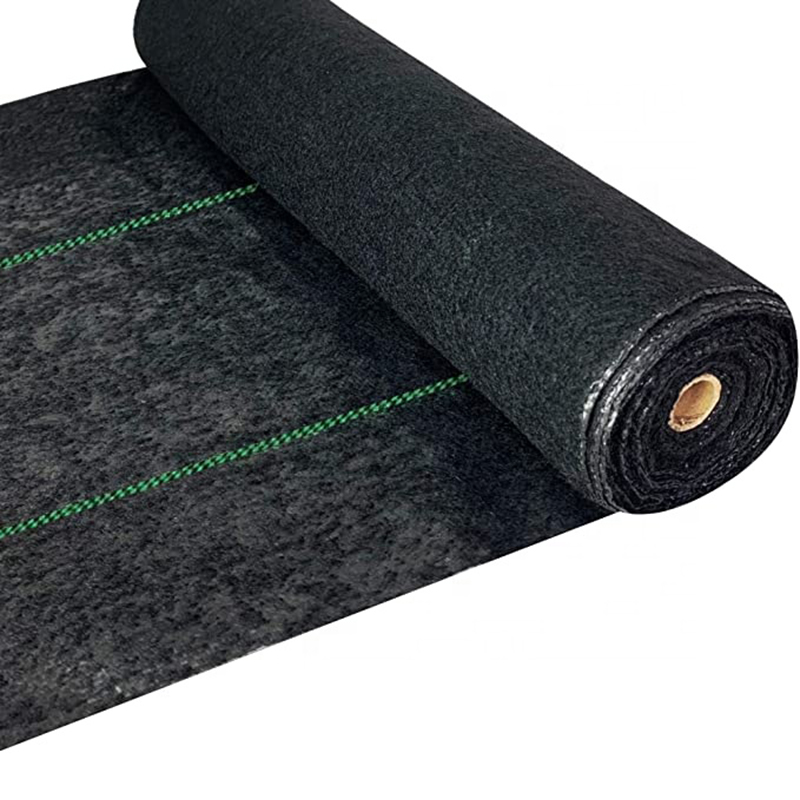
Heavy Duty Landscape Fabric
High Strength &Durability: 5.8oz heavy duty landscape weed barrier fabric, made of tightly woven polypropylene fabric needle which punched with UV-stabilized. 98.7% opaque to l […]
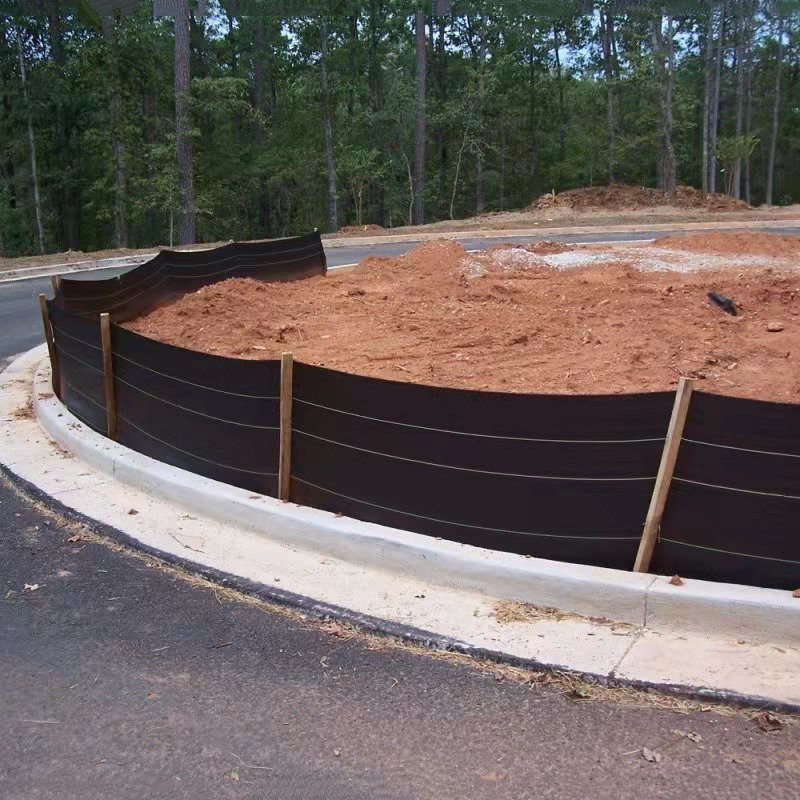
Silt Fence
Product Weed Mat / Ground cover/Slit fence Weight 70g/m2-300g/m2 Width 0.4m-6m. Lengths 50m,100m,200m or as your request. Color Black,Green,White ,Yellow or As your request […]
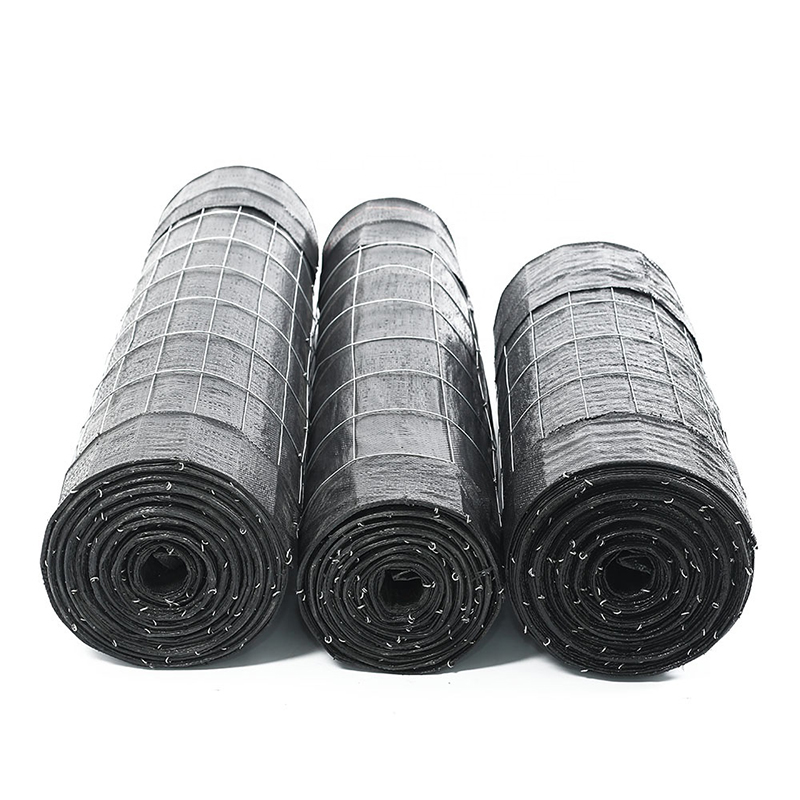
Wire Backed Silt Fence
The Wire Back Silt Fence is a strong erosion control fence designed for areas with demanding silt and erosion control requirements. Offering more strength and stability than a stan […]
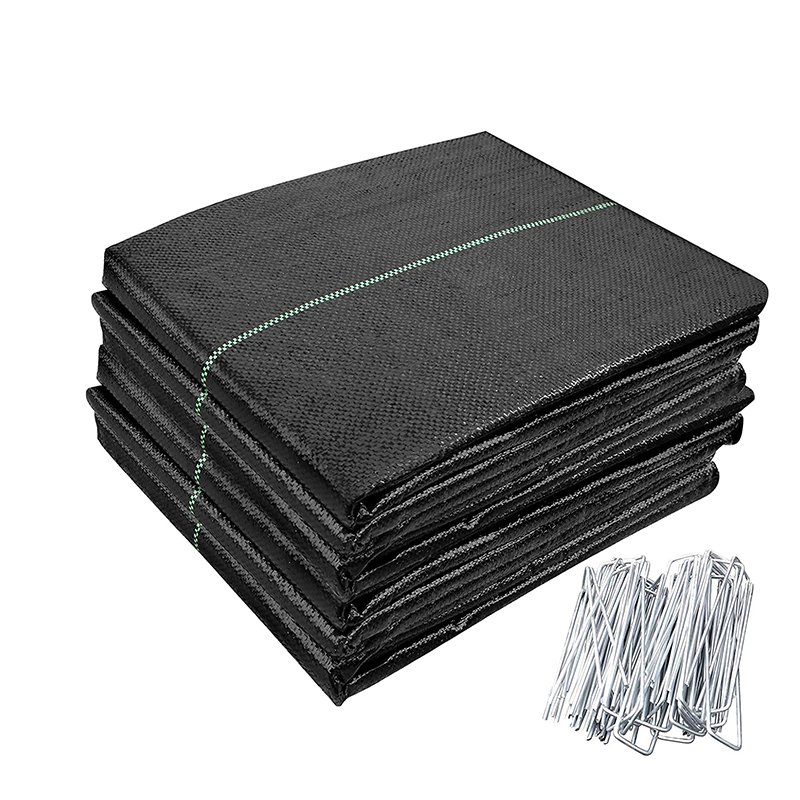
Woven Geotextile/Weed Mat
PP Woven Geotextiles are a series geotextiles made of high-performance polypropylene woven geotextile fabrics combining strength, durability and robust design. All these PP woven g […]
Post time: 2023-06-26
